

Discover new, clever tips and tricks to easily produce the creamiest homemade hummus, plus delicious ideas to dress it up. {Jump to Recipe}
This post contains affiliate links. An affiliate link means I may earn advertising or referral fees if you make a purchase through my links, at no extra cost to you. This helps me creating new content for the blog–so thank you! Learn more about advertising on this site by reading my Disclosure Policy.
Hummus is one of the staples you’ll always find in my fridge. Like most people, I do occasionally buy it from the store, but most of the time, I make it from scratch.
Like most things you make from scratch, homemade hummus is very likely to taste better than any store-bought variety. Though hummus is indeed easy to make in theory, when I first tried making it, I was super frustrated by the process. Specifically, I found the hummus that I made was never creamy enough. I’d drool over images of über-smooth hummus in books and magazines, and I’d long for the fluffy hummus I’d tasted in Middle Eastern restaurants. Unfortunately, however, no matter what recipe I tried, I found that I was never really happy with the result.
As a result, I eventually stopped trying to make homemade hummus. After a while, though, I became frustrated with the fact that I was constantly buying it at the store, so I got back at the task, and through trial and error, tricks and tweaks, I finally found my way to making hummus that I love. I shared my favorite hummus recipe, generously flavored with lemon and orange juice and zest, in my first cookbook, Simply Citrus. Then in my second cookbook, French Appetizers, I shared my go-to hummus formula, which I dubbed “Any-Bean Hummus.” I’ve blended so many batches of hummus over the years that I now feel like I have it down to a science.
My hummus recipe produces a super creamy dip. It’s easy to make, but yes, you’ll still have to wash that food processor or blender after making it. Buying hummus from the store is undoubtedly easier than making it from scratch, but I swear, if you follow my lead, the hummus you’ll produce will convince you to take the leap from store-bought to homemade. I promise: it’s worth your time and effort!
Helpful Tips for Making Homemade Hummus
Don’t be apologetic about using canned chickpeas: I recognize that using chickpeas that you soaked and cooked yourself is probably the superior way of making hummus. But do I soak and cook chickpeas myself? Never. Call it laziness or lack of foresight, but I always simply reach for cans. Why? First, I always have canned chickpeas on hand, and second, using them means I can whip up homemade hummus at a moment’s notice. Those two facts save me from buying hummus at the store, and I suspect they may change your habits too. So go on, stock up on canned chickpeas and stop feeling guilty about it.
Look for low-sodium or no-sodium canned chickpeas: I prefer using “no salt added” chickpeas because it allows me to fully control the seasoning of my homemade hummus. Regular canned chickpeas tend to be heavily salted—in fact, they most likely contain more salt than you’d ever use yourself. If you can find them, buy no salt added canned chickpeas. If you can’t, just go for the regular stuff, but keep in mind that you’ll need to have a light touch when it comes time to season your hummus.
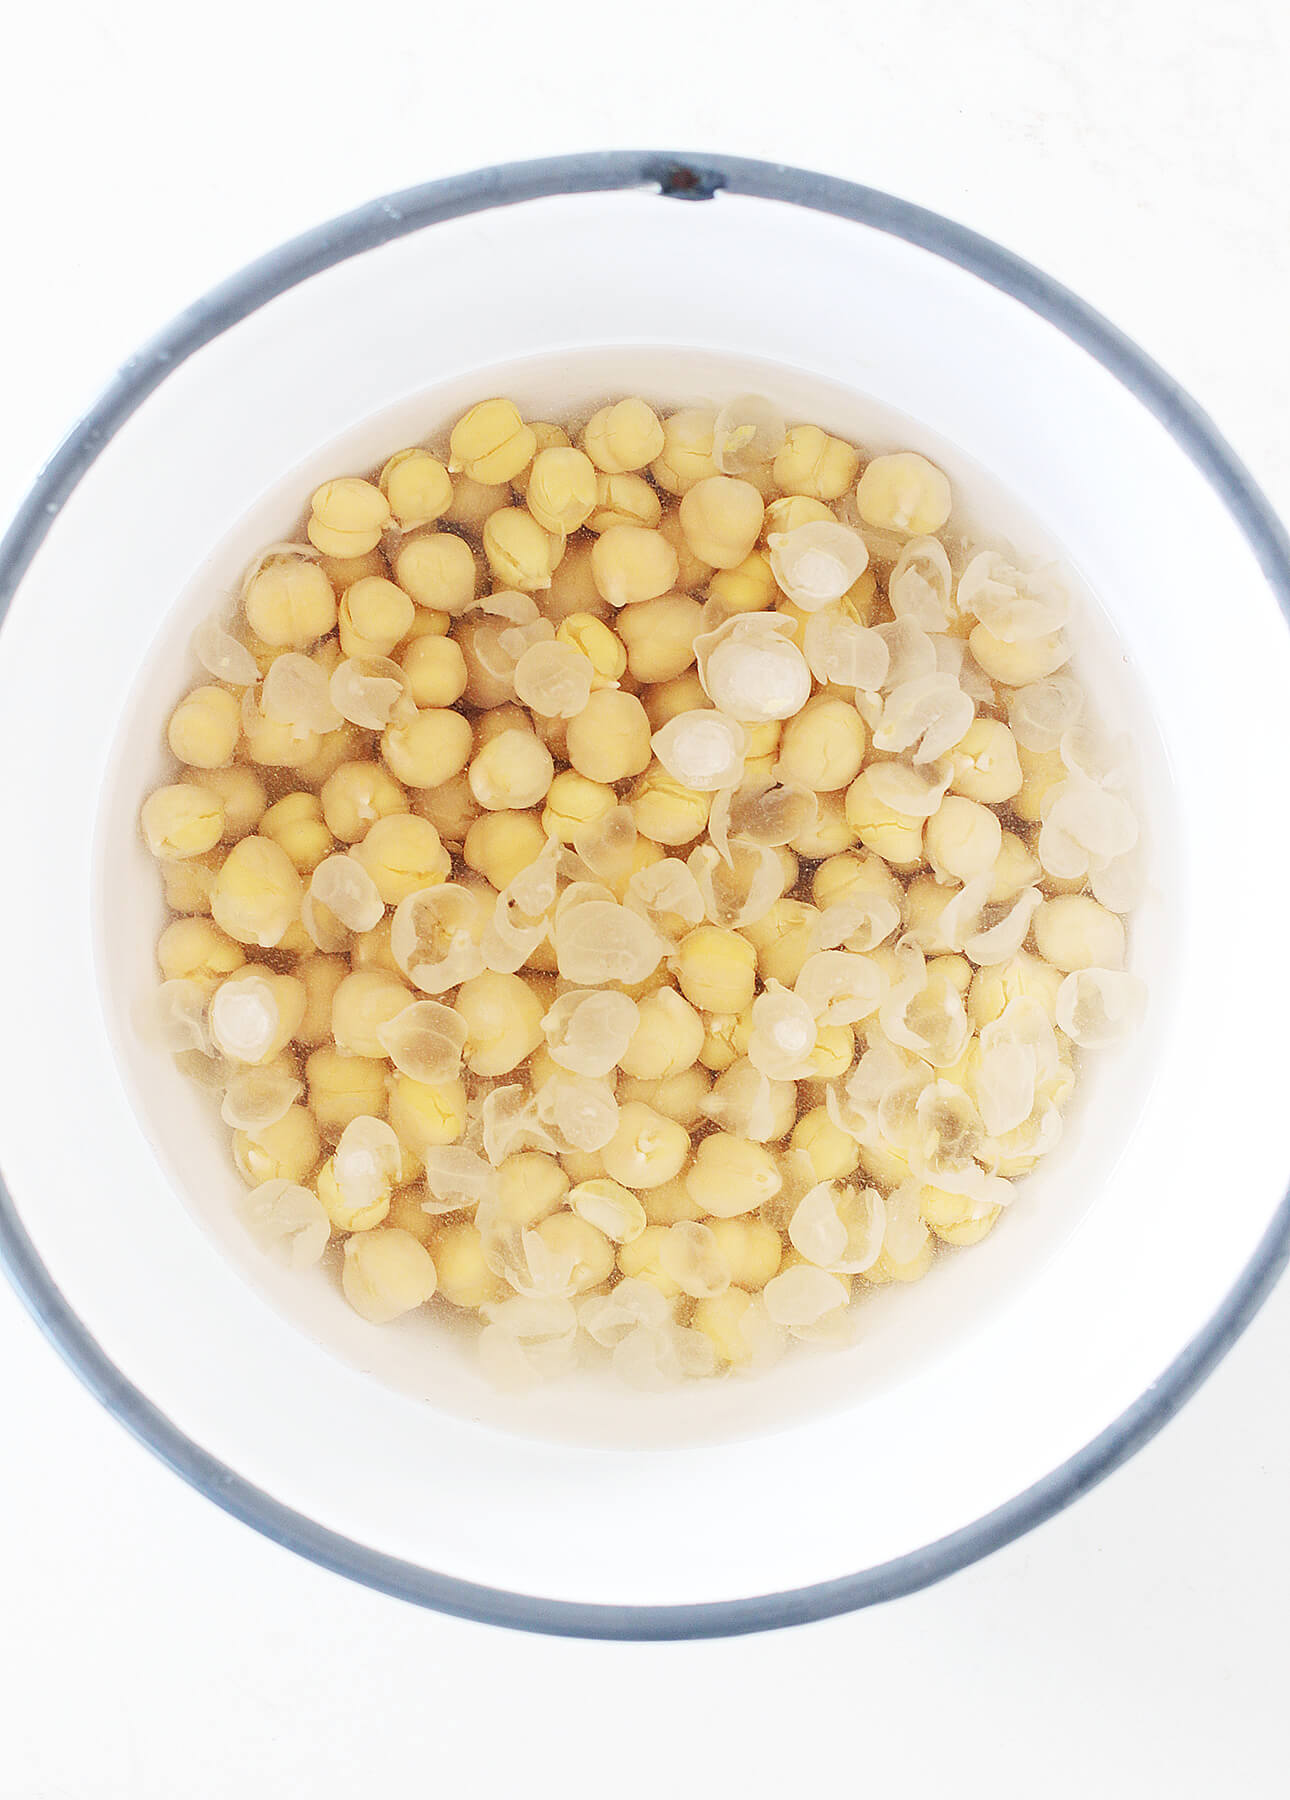
Peel those chickpeas: Mark my words—if you’re on a quest to produce the creamiest hummus, peeling chickpeas is life-changing. Canned chickpeas are wrapped in a translucent “skin,” and even though it is super thin, it can be hard to fully blend it in using a food processor. This contributes to the grainy texture found in some homemade hummus. Peeling the chickpeas greatly facilitates the blending process and produces an extremely smooth texture. I first came across this tip on the blog Smitten Kitchen in 2013, and I haven’t looked back. Here’s how to peel cooked and canned chickpeas:
- Simply pinch one chickpea between two fingers, and the skin will come right off. Peeling the chickpeas one by one can be a tedious process, but it’s also a relaxing one. Going through one can of chickpeas takes about 10 minutes, so I’ll usually just pop in a podcast and fly through the task.
- To save time, you can also put the chickpeas in a large bowl, fill it with water, and then gently rub the chickpeas together repeatedly using your two hands. The skins will come right off and float to the surface of the water, while the chickpeas will remain at the bottom of the bowl. Tilt the bowl to drain the water and skins, then repeat the process a few times. The vast majority of the chickpeas will be peeled—all smooth and shiny—and you’ll easily be able to spot the defiant ones and pinch them to finish the job.
Left: pinching method; Right: rubbing method.

Choose your tahini carefully: Tahini, the sesame paste that gives hummus its signature nutty flavor, varies widely in terms of quality, flavor, and texture. Some tahini brands are very bitter in taste, and you don’t want that in your hummus. I prefer using Lebanese brands, such as Al Wadi and Alkanater, which you can readily find in most supermarkets. North American brands also sell excellent tahini: Soom, Pepperwood, and Seed + Mill in the US, and New World Organics and Nuts to You in Canada are all outstanding products, but they can also be more difficult to source.
Store tahini the right way—and use it promptly: Tahini has a very high oil content, which means it can turn rancid in a snap. After buying tahini, give it a good stir to blend that layer of oil back in (it’s easier to do this when the tahini is at room temperature), and then store it in the fridge. Make sure to use an opened jar of tahini within a year.
Using more liquid than you think you should is key to producing creamy hummus: Most of the hummus recipes I tested advise adding a couple tablespoons water to the recipe, which always left me with a super-thick paste. I’d find myself strenuously and repeatedly scraping down the food processor without ever reaching a smooth stage. The moment I started forgoing recipes and adding more liquid to my own recipe tests was when I started having fun making hummus again. To reach the creamiest consistency, I generally add a total of about 1/2 cup (125 ml) liquid per 19 oz (540 ml) can of chickpeas. You don’t want your hummus to turn soupy, though, so I recommend starting with 1/4 cup (60 ml) liquid and then adding more, 1 tablespoon (15 ml) at a time, until you reach the consistency you’re looking for.
Add flavor to your hummus by using juice and other flavorful liquids instead of water: I think you should actually never add water to your hummus. Canned chickpeas swim in a liquid called aquafaba, which is a pretty miraculous thing you can turn into meringue and all sorts of wonderful treats. You can also use it right in the hummus you’ve opened the can to make instead of throwing it away. When you drain a can of chickpeas, always make sure to do so over a measuring cup so you can save the liquid, and then rinse the chickpeas under running water. You can then use the chickpea liquid to thin your hummus, saving the rest for another use.

Never go without lemon: This is my life’s motto, really, but it is especially true when it comes to making hummus. To me, hummus without lemon juice is simply flat. Adding lemon juice jolts the flavors awake and brings the hummus to life. Always use freshly squeezed lemon juice (and grate that lemon zest while you’re at it)—most brands of bottled lemon juice are sulfite-laden and don’t taste remotely like the real thing.
Make peace with the fact that a food processor *will not* produce the creamiest hummus: Over the years, I’ve gone through three food processors—one basic $75 model and two top-of-the-line, $300-plus models. The current model I own is the excellent Breville Sous Chef 12 Food Processor, yet even that food processor doesn’t result in the creamy and smooth hummus of my dreams. A food processor will get you to a pretty smooth consistency (see below), but if you want to reach that ethereally smooth stage (quoting Smitten Kitchen’s Deb Perelman here), you will either need a professional blender (such as a Vitamix) or a hand blender. A professional blender is an exceptionally powerful stand blender that can process solids to an incredibly creamy texture. If you have one, good for you—I doubt you’re reading this, since you can already make the creamiest homemade hummus. But very few of us have a professional blender on hand (they’re expensive machines!), so I found an alternate hack to walk that extra mile toward creamy hummus happiness. Once I reach the smoothest stage my food processor will get me to, I transfer the hummus to a large measuring cup and use a hand blender to process it further. Hand blenders are affordable and pretty powerful, and using one to give hummus a final whip makes a huge difference. (I’m partial to the Braun MultiQuick Hand Blender.) Hummus is thick, so I blend it continuously, moving around in an up-and-down motion for 2 to 3 minutes, for the best result.
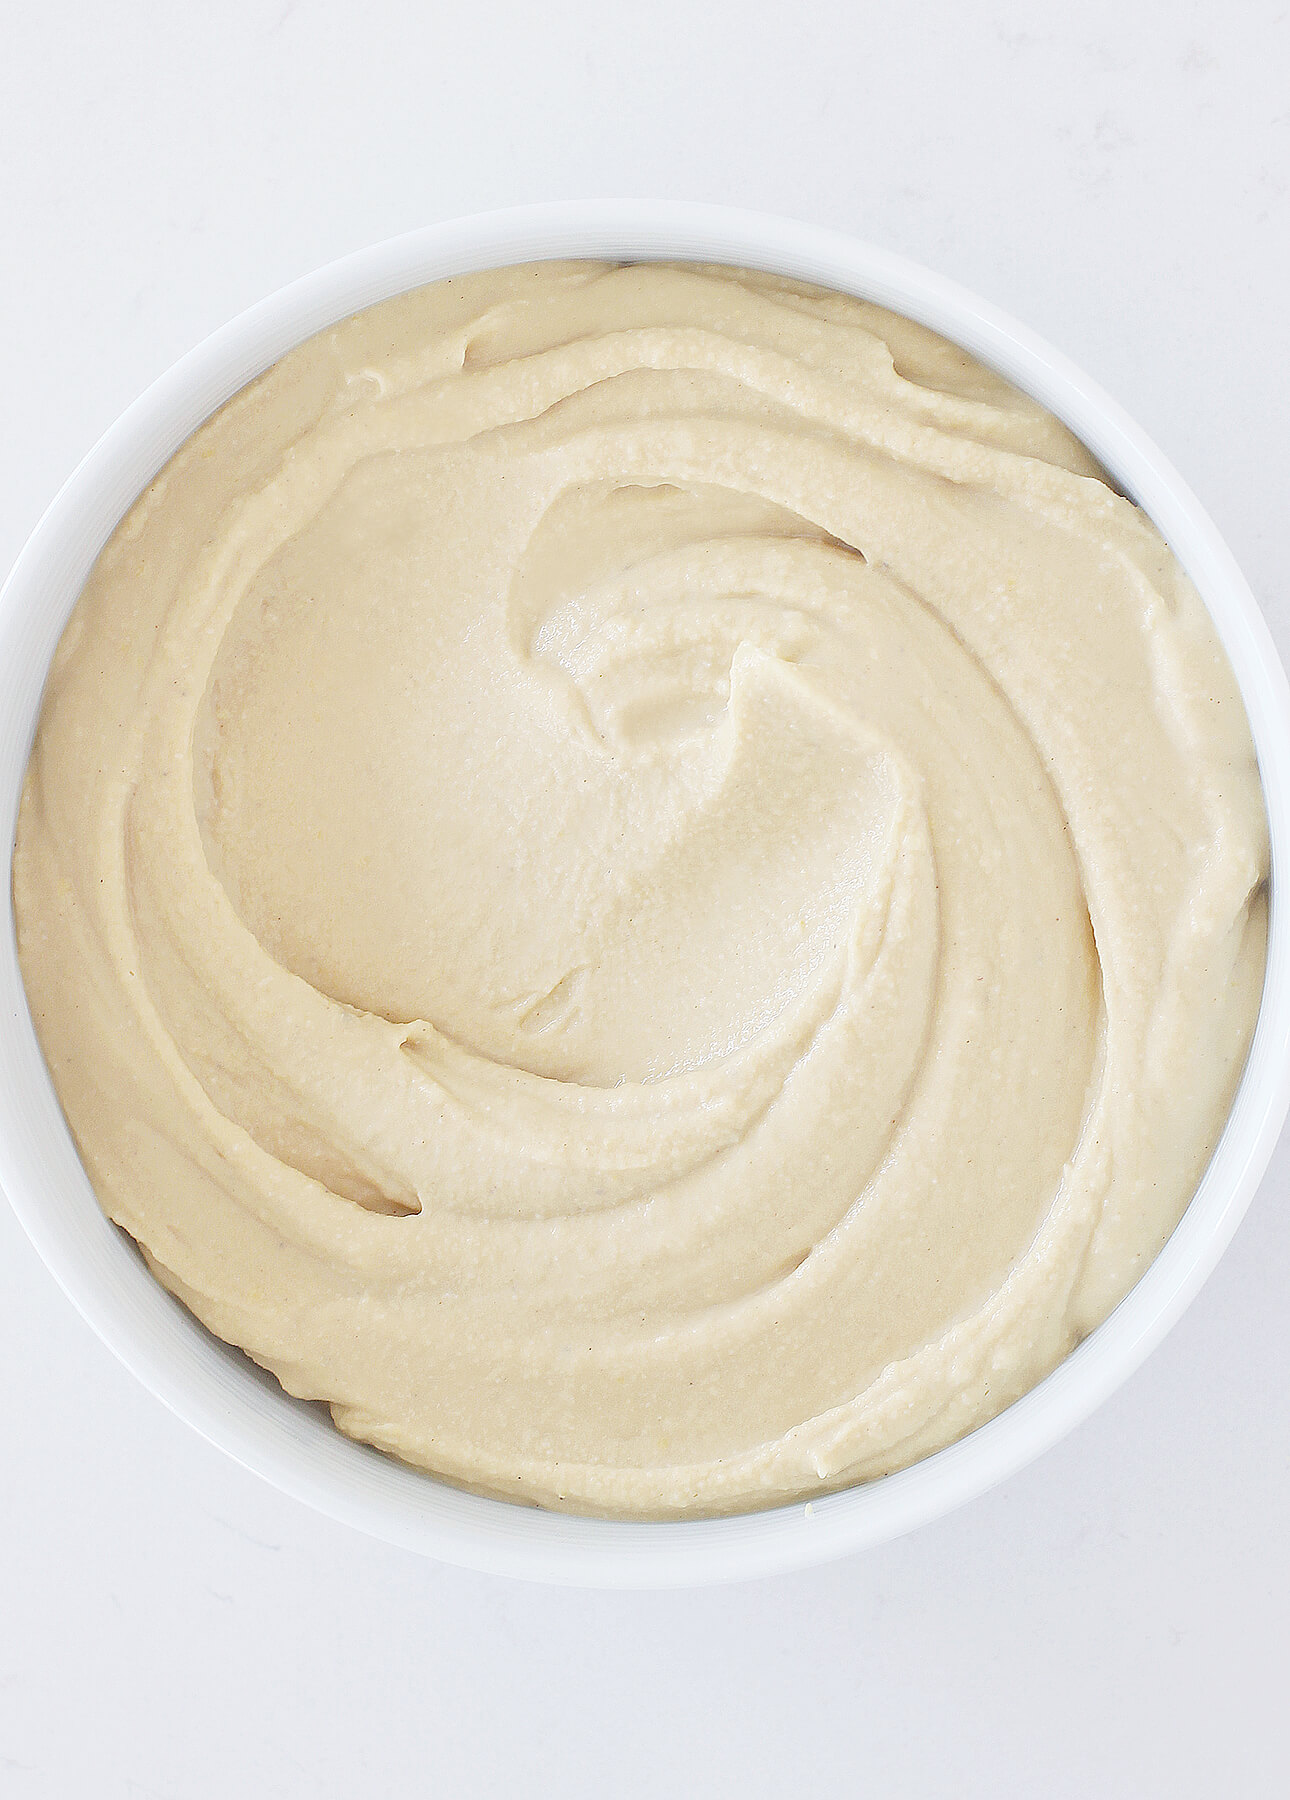
Homemade hummus after 5 minutes in the food processor:
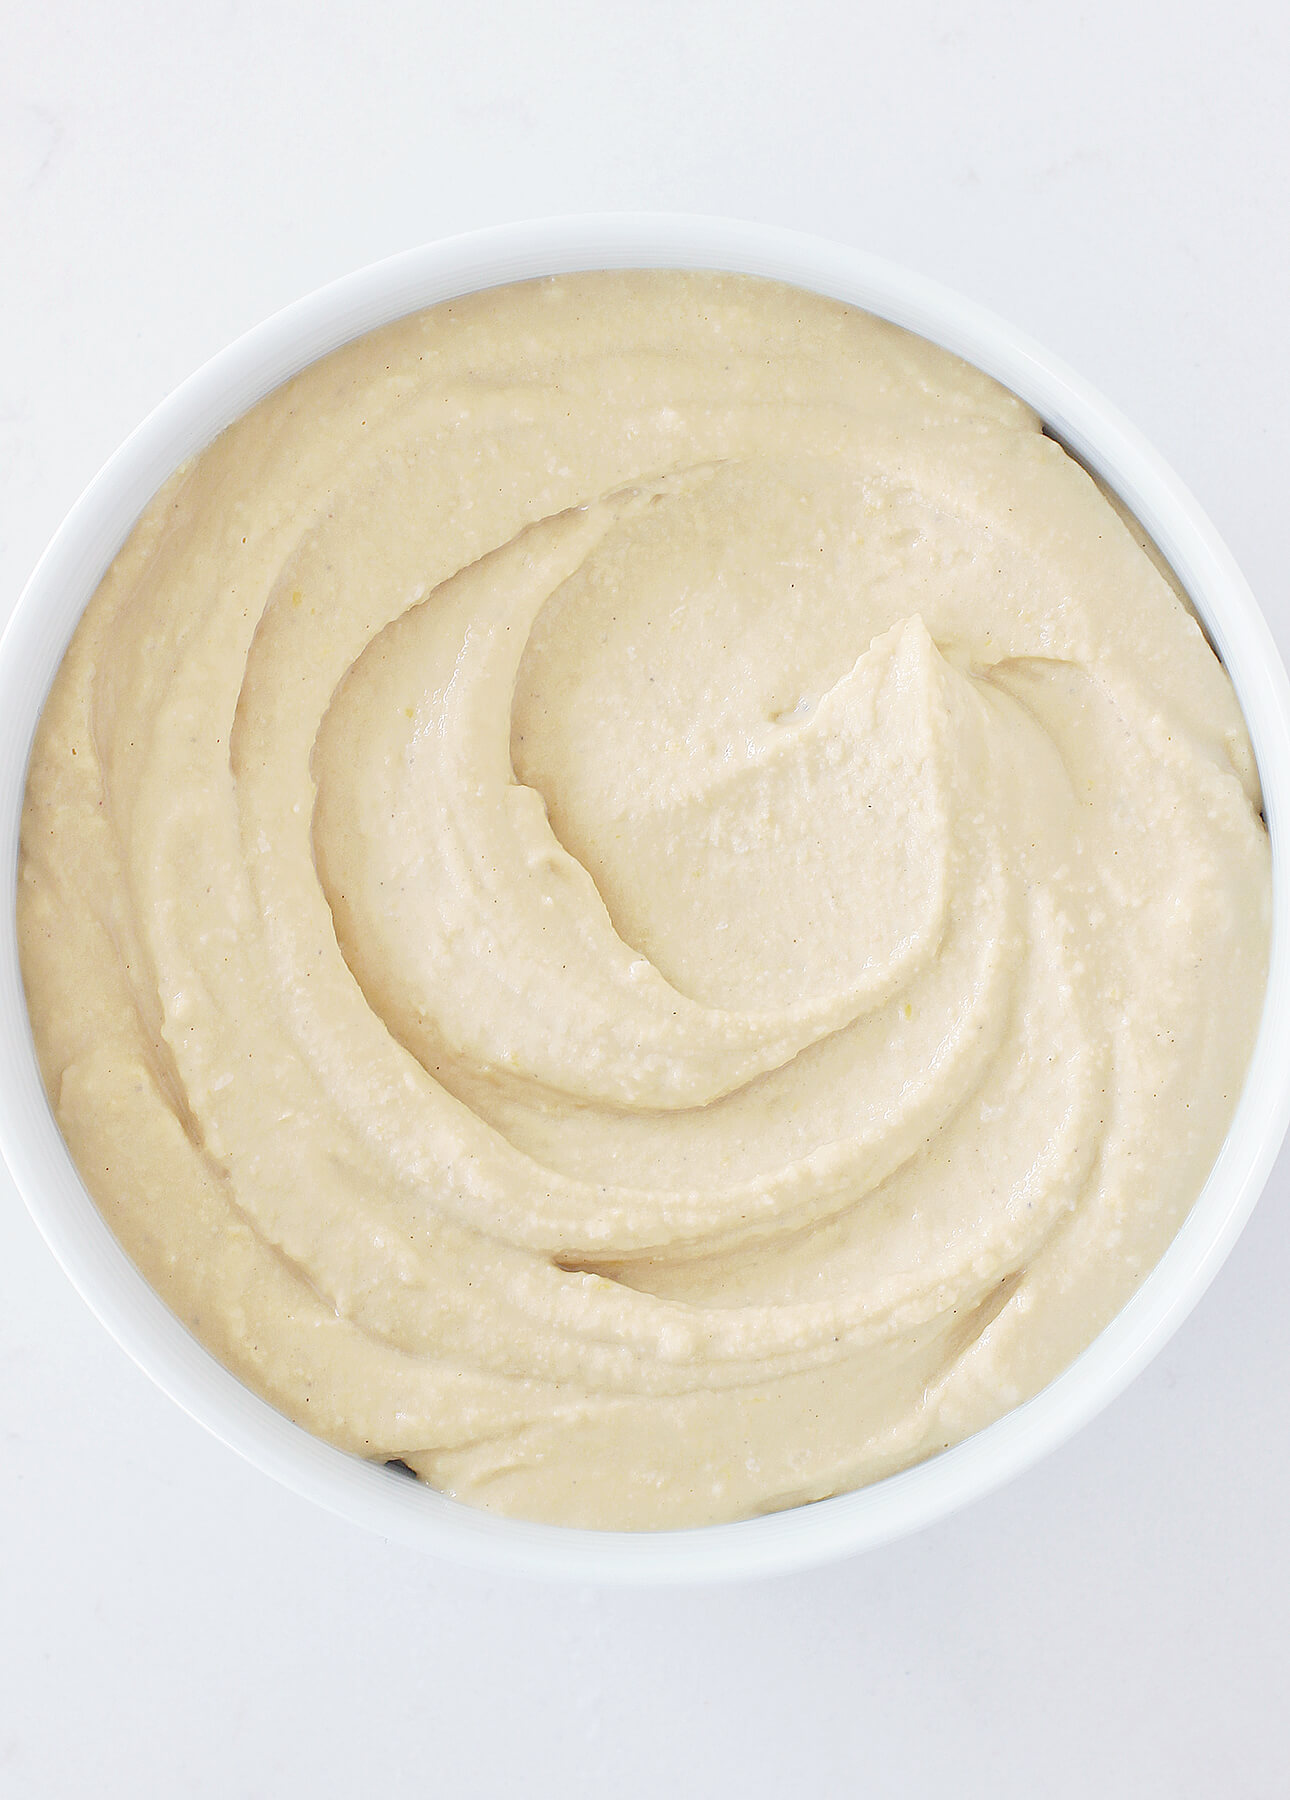
Homemade hummus after an additional 3 minutes through the hand blender:
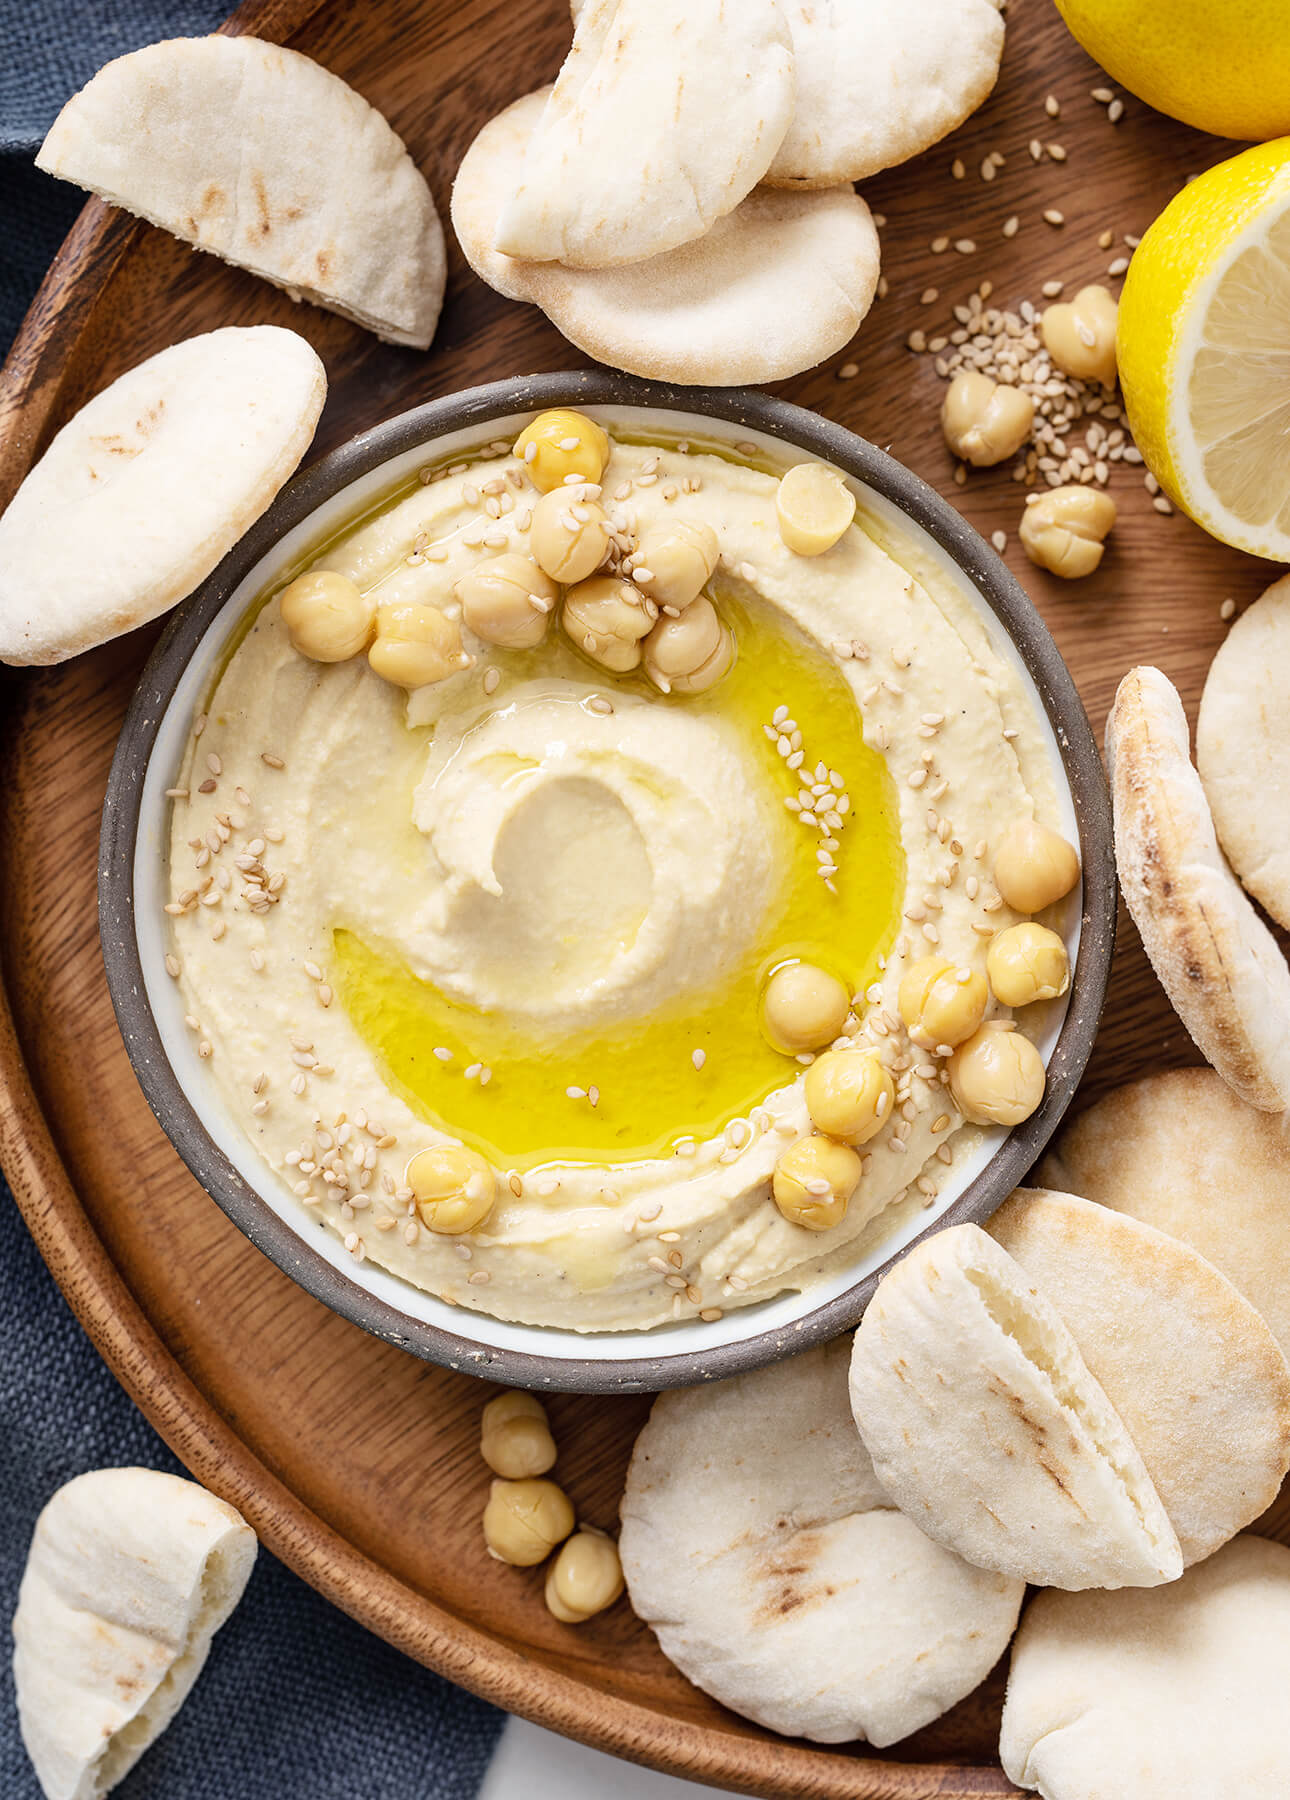
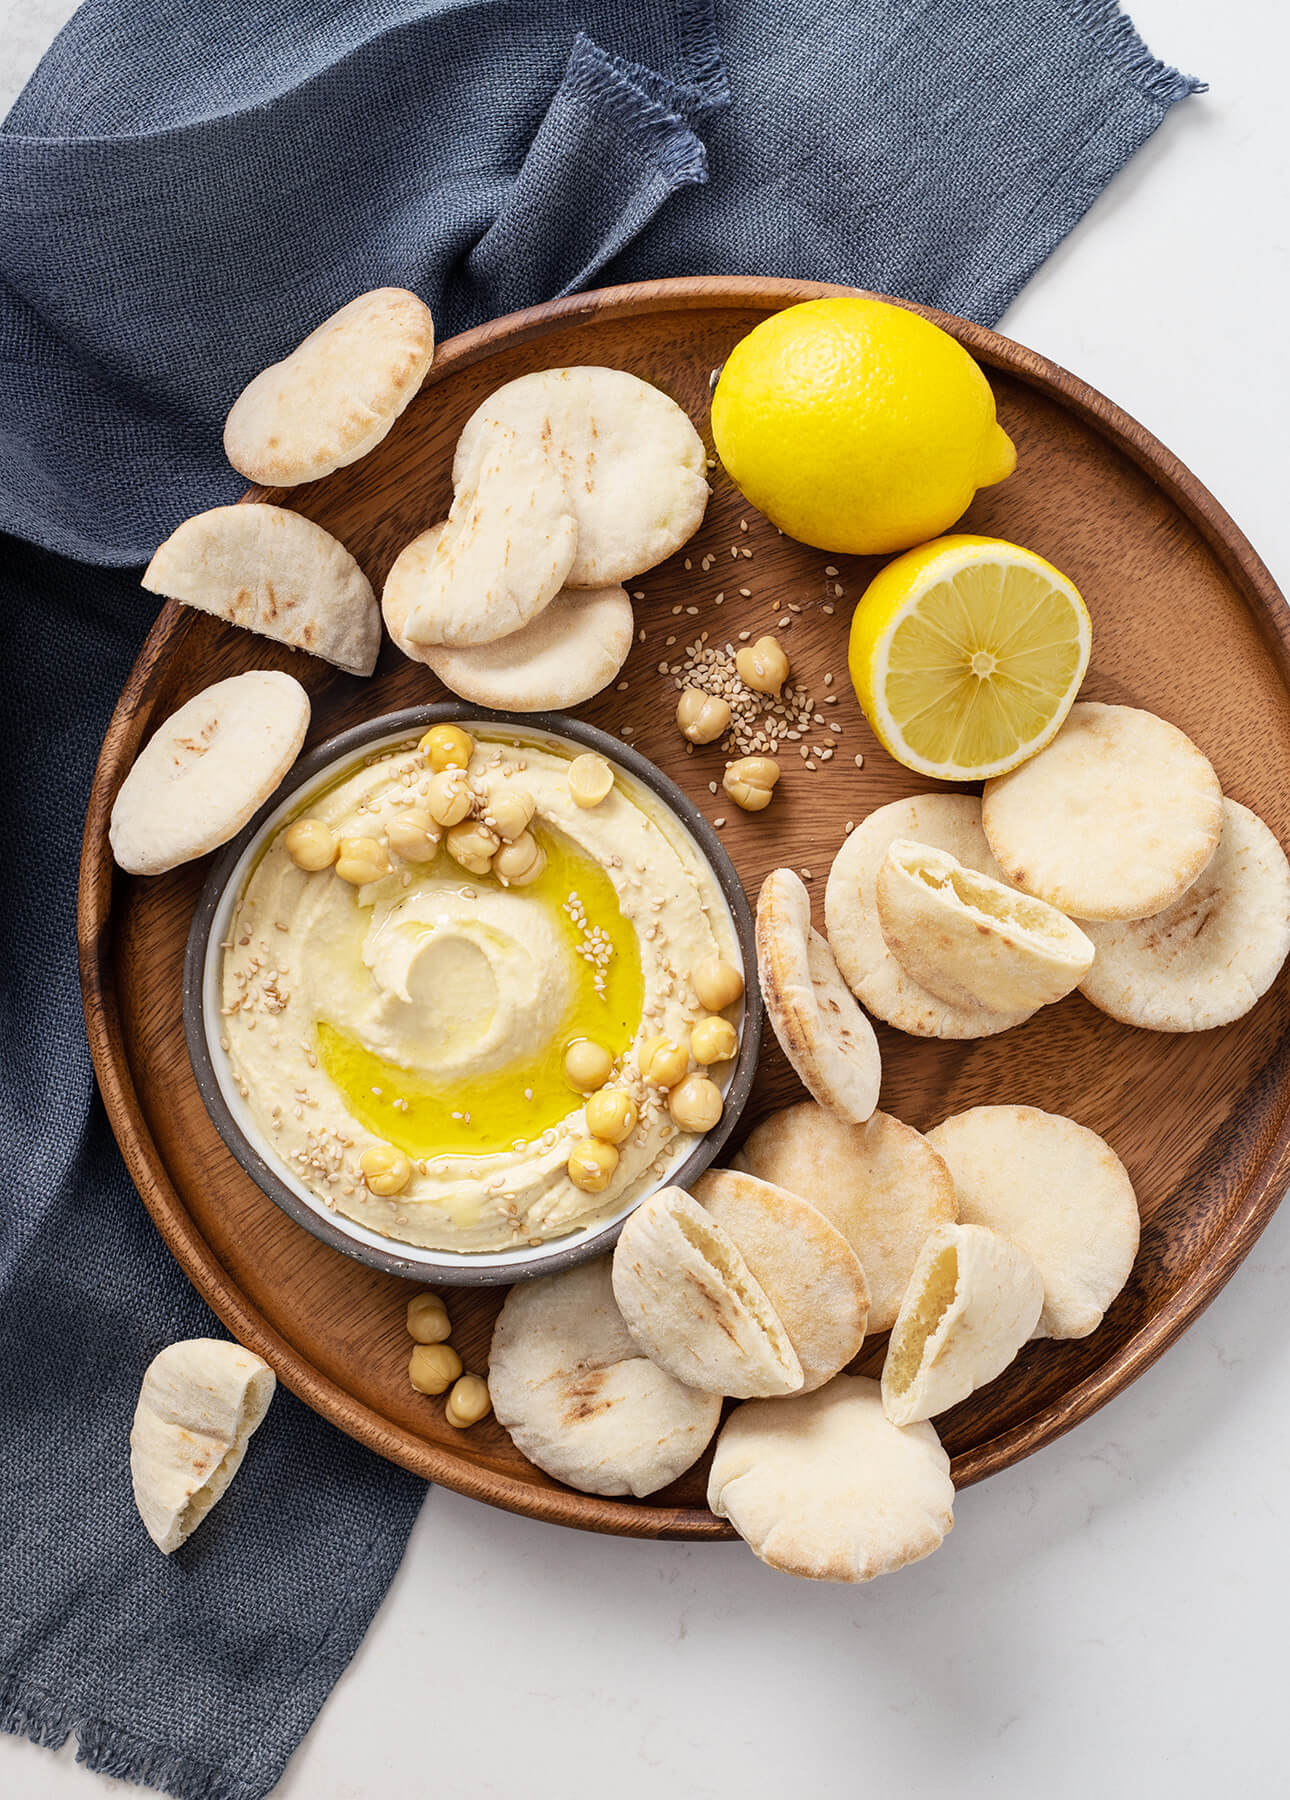
Top that creamy hummus with flavorful things: Serving hummus straight out of the food processor is good, but digging into a super-creamy hummus topped with crunchy, tasty things is infinitely better. Think of hummus as a blank canvas, and feel free to get extra creative with the way you serve it. If you’ve never garnished hummus before, start by topping it with a drizzle of best-quality extra-virgin olive oil, a handful of saved chickpeas, a sprinkle of toasted sesame seeds, and some flaky sea salt and black pepper. From there, you can add fresh herbs, citrus zest, toasted nuts, chopped roasted veggies, and so many more things to push your homemade hummus to the next level. I’ve included several more topping ideas in my recipe below.
Serve hummus in a shallow plate: Many of us are guilty of serving hummus in a bowl, as we would a dip. In fact, Hummus is best enjoyed swirled around a shallow plate. This allows you to generously garnish the hummus and get the perfect ratio of creamy hummus to garnishes in every bite.
I hope all these nerdy tips will help you make the best hummus you’ve ever made. Now, here’s my recipe for the creamiest homemade hummus.
The Creamiest Homemade Hummus
Prep
Total
Author Marie Asselin, FoodNouveau.com
Yield about 2 cups (500 ml)
Discover new, clever tips and tricks to easily produce the creamiest homemade hummus, plus delicious ideas to dress it up.
Ingredients
- 1 can (19 oz/540 ml) chickpeas (garbanzo beans), preferably no salt added
- 1 lemon, finely grated zest and juice (about 1 tbsp/15 ml zest and 1/4 cup/60 ml juice)
- 2 tbsp (30 ml) tahini
- 1 small clove garlic, peeled and coarsely chopped
- 1/2 tsp (2 ml) kosher salt, or fine sea salt
- Freshly ground black pepper (optional)
To serve (find additional serving ideas at the bottom of the recipe)
- Top quality extra-virgin olive oil
- Toasted sesame seeds
- Flaky sea salt
- Freshly ground black pepper
Instructions
Set a strainer over a measuring cup. Empty the can of chickpeas in the strainer to save the liquid from the can (which is called aquafaba.) Peel the chickpeas: Pinch them one by one with the tip of your fingers, then discard the skins. Alternatively, place the chickpeas in a large bowl, cover them with water, then gently rub them together to loosen and remove the skins. The peeled chickpeas will remain at the bottom of the bowl while the skins float to the top. Tilt the bowl to pour out the skins, then fully drain the remaining chickpeas in a strainer. Pick out any remaining skins.
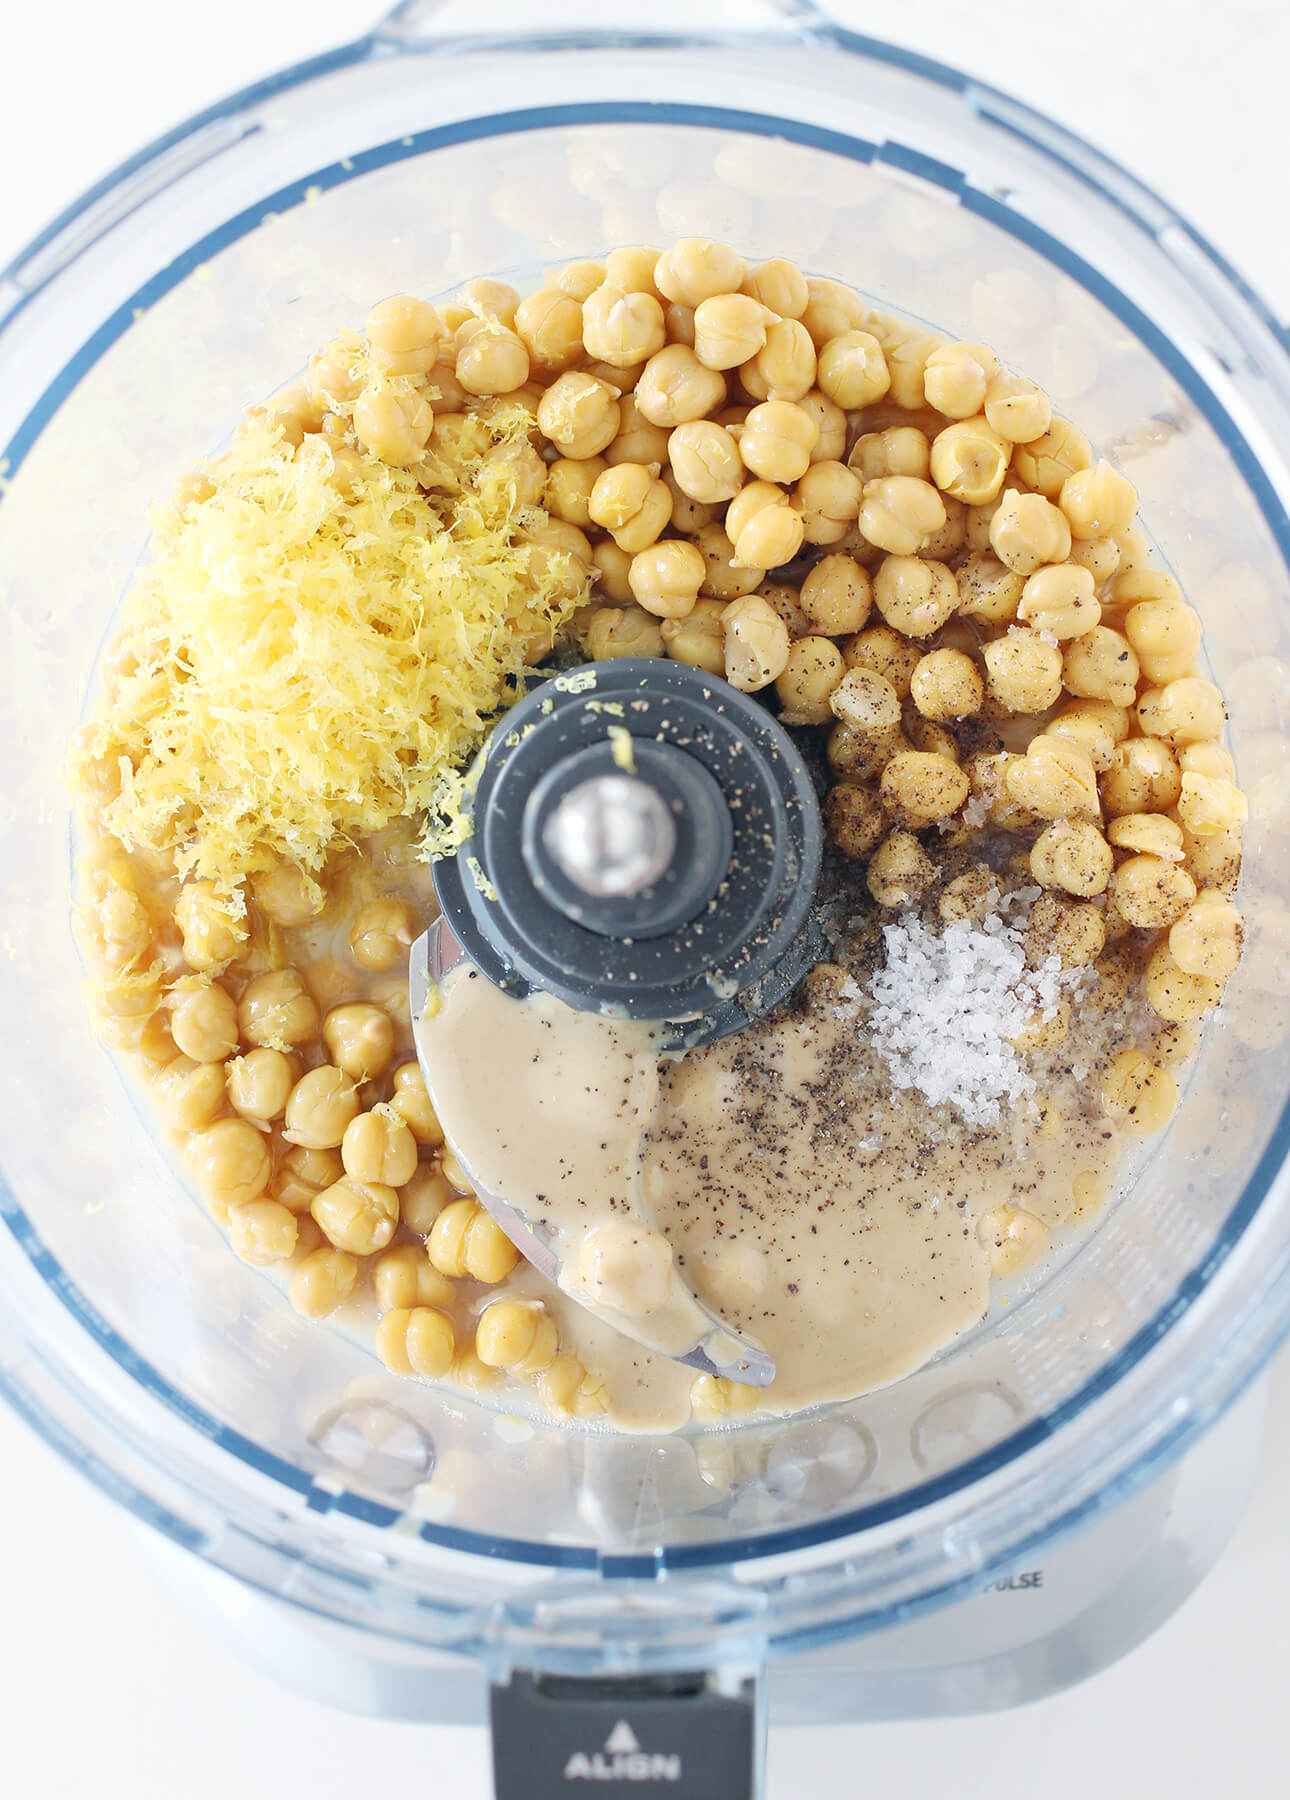
If desired, save 2 to 3 tbsp (30 to 45 ml) chickpeas to garnish the hummus before serving. Transfer the remaining chickpeas to the bowl of a food processor (or to the container of a professional blender). Add the lemon zest and juice, tahini, garlic, salt, pepper (if using) and 2 tbsp (30 ml) of the saved aquafaba. Process for 1 minute. Scrape down the bowl and check the consistency. If the hummus still seems thick, add more aquafaba, 1 tbsp (15 ml) at a time, until you reach the desired consistency. (Hummus should be creamy but still hold its shape when you swirl it with the back of a spoon.) Keep processing for 2 to 3 minutes more, or until the hummus is very smooth.
If you used a food processor and have a hand blender: to reach the creamiest consistency, transfer the hummus to a large measuring cup. Fully immerse the hand blender’s head into the hummus and blend it continuously, moving around in an up-and-down motion, for 2 to 3 minutes, or until impeccably smooth.
SERVING: To serve, transfer the hummus in a shallow bowl, or a medium-sized plate. Use the back of a spoon to create a swirling pattern. Garnish with a generous drizzle of olive oil, a sprinkle of sesame seeds, a pinch of flaky sea salt, and some freshly ground black pepper. Scatter the saved chickpeas over (if using) and serve with slices veggies, pita bread, or chips.
STORAGE: Store hummus in an airtight container in the refrigerator for up to 1 week. Always garnish right before serving.
MORE IDEAS TO GARNISH HUMMUS—whichever garnishes you choose to use, make sure to always start with a drizzle of olive oil and finish with a pinch of flaky sea salt:
- Za’atar (blend of thyme and/or oregano, sesame seeds, and sumac) + thyme leaves
- Dukkah (blend of toasted nuts, sesame seeds, and spices) + coriander leaves
- Chopped pitted olives or tapenade + lemon zest + basil leaves
- Chopped roasted red bell peppers + harissa or red pepper flakes + chopped Italian parsley
- Chopped preserved lemon + toasted pumpkin seeds + coriander leaves
- Chopped toasted pistachios + orange zest + toasted and crushed cumin seeds
- Swirl of plain Greek yogurt + pomegranate seeds + chopped toasted almonds + chopped Italian parsley
- Toasted pine nuts + toasted and crushed fennel seeds + basil leaves
- Swirl of pesto loosened up with a bit of olive oil + chopped cherry tomatoes + toasted pine nuts
- Drizzle of chili oil (in place of the olive oil) + roasted chickpeas + pinch of smoked paprika + minced chives
- Chopped caramelized onions + saved chickpeas + freshly grated nutmeg
Looking for More Cocktail Party Recipe Ideas?
 My cookbook, French Appetizers, is a collection of fresh, modern, and versatile French-inspired recipes that are perfect to serve when you host happy hour, gatherings with friends, or a casual evening meal. In the book, you’ll find:
> Basic dips and condiments
> Small bites and elegant verrines
> Savory cakes and tarts
> Breads, sandwiches, and toasts
> Sweet bites and drinks
Many recipes include simple formulas to make several versions of a single recipe so that you are only limited by your own taste buds and creativity. Learn more or buy now!
More Easy, Delicious Snacks for Cocktail Parties
Fried Olives with Saffron Aïoli

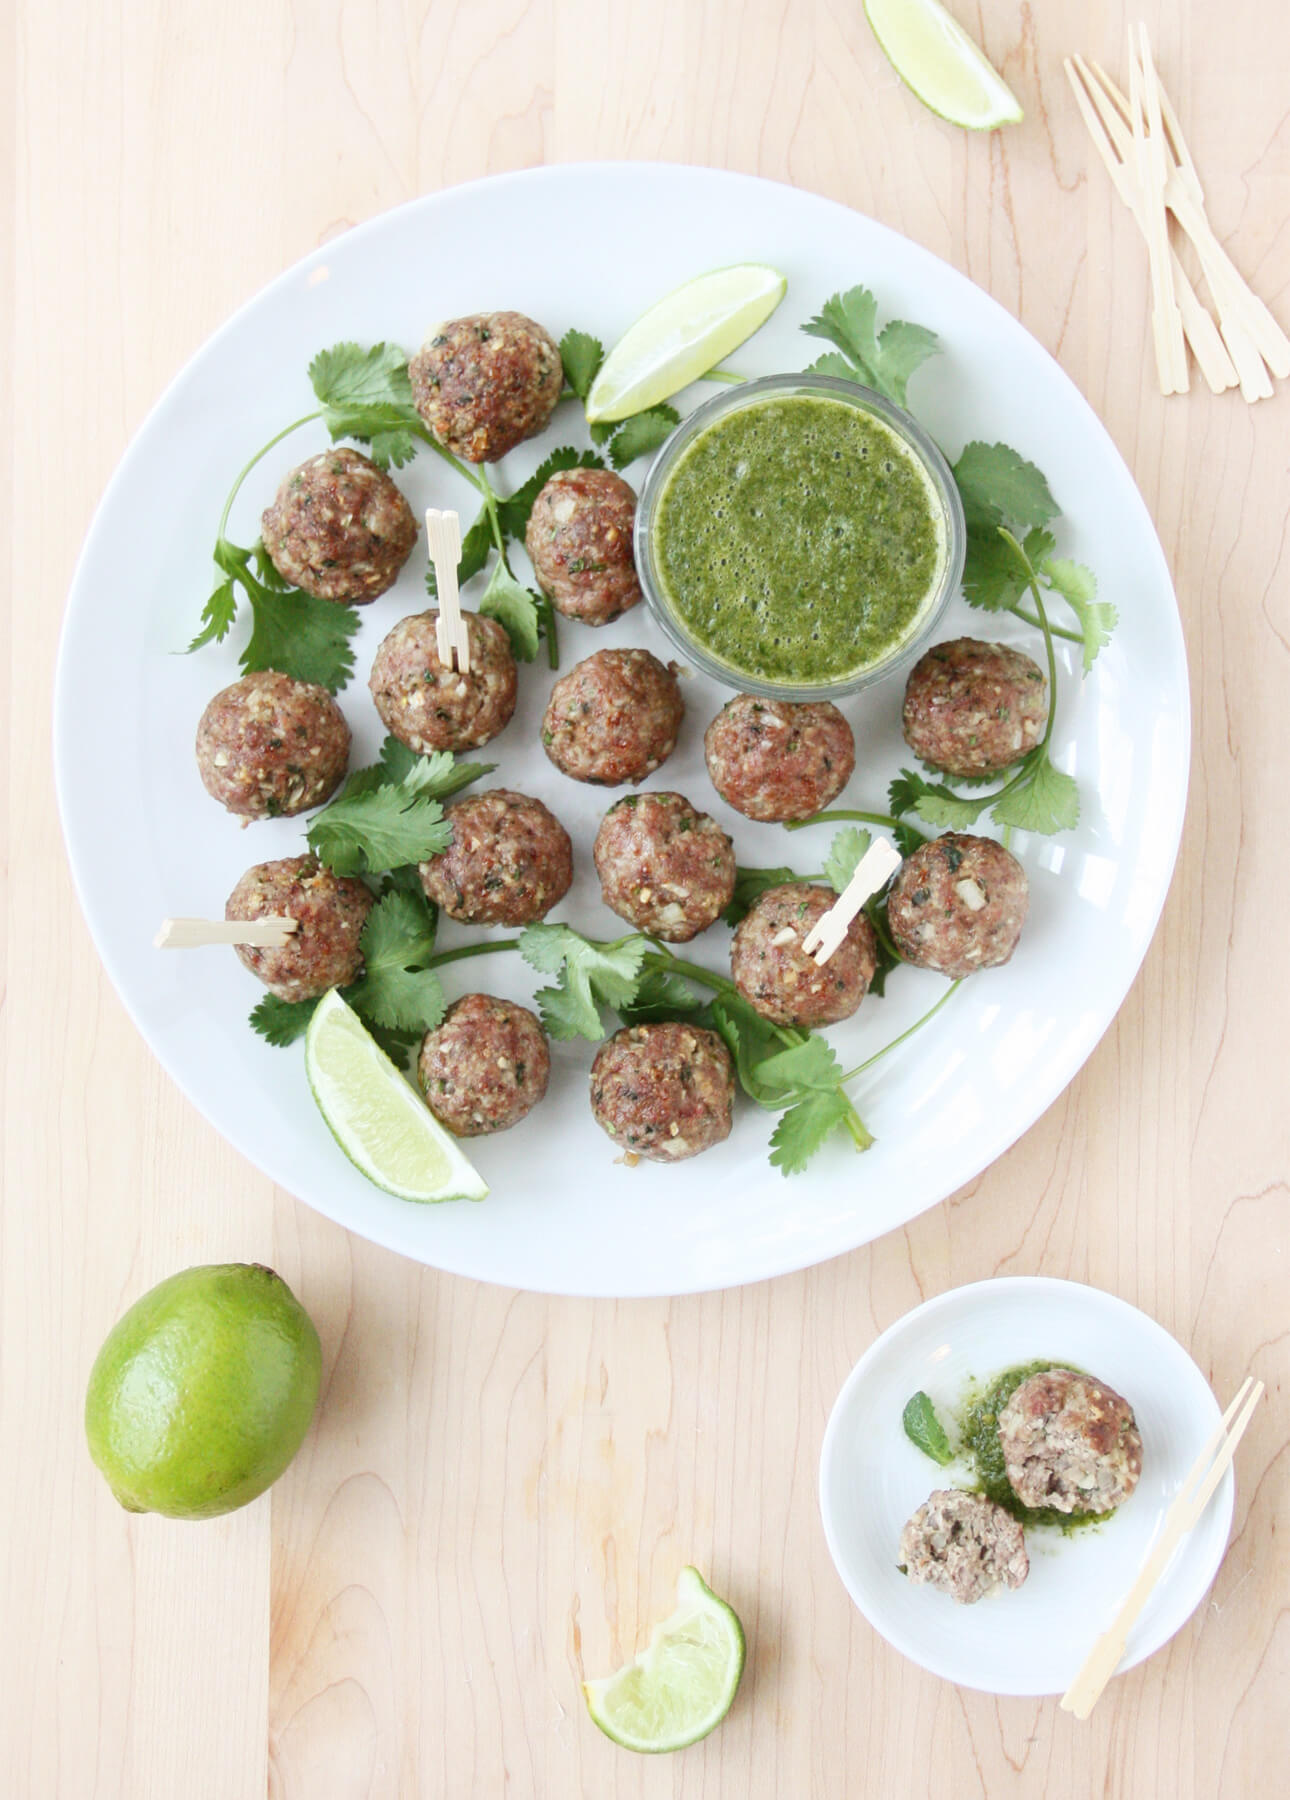
Indian Lamb Meatballs with Mint, Coriander, and Lime Chutney
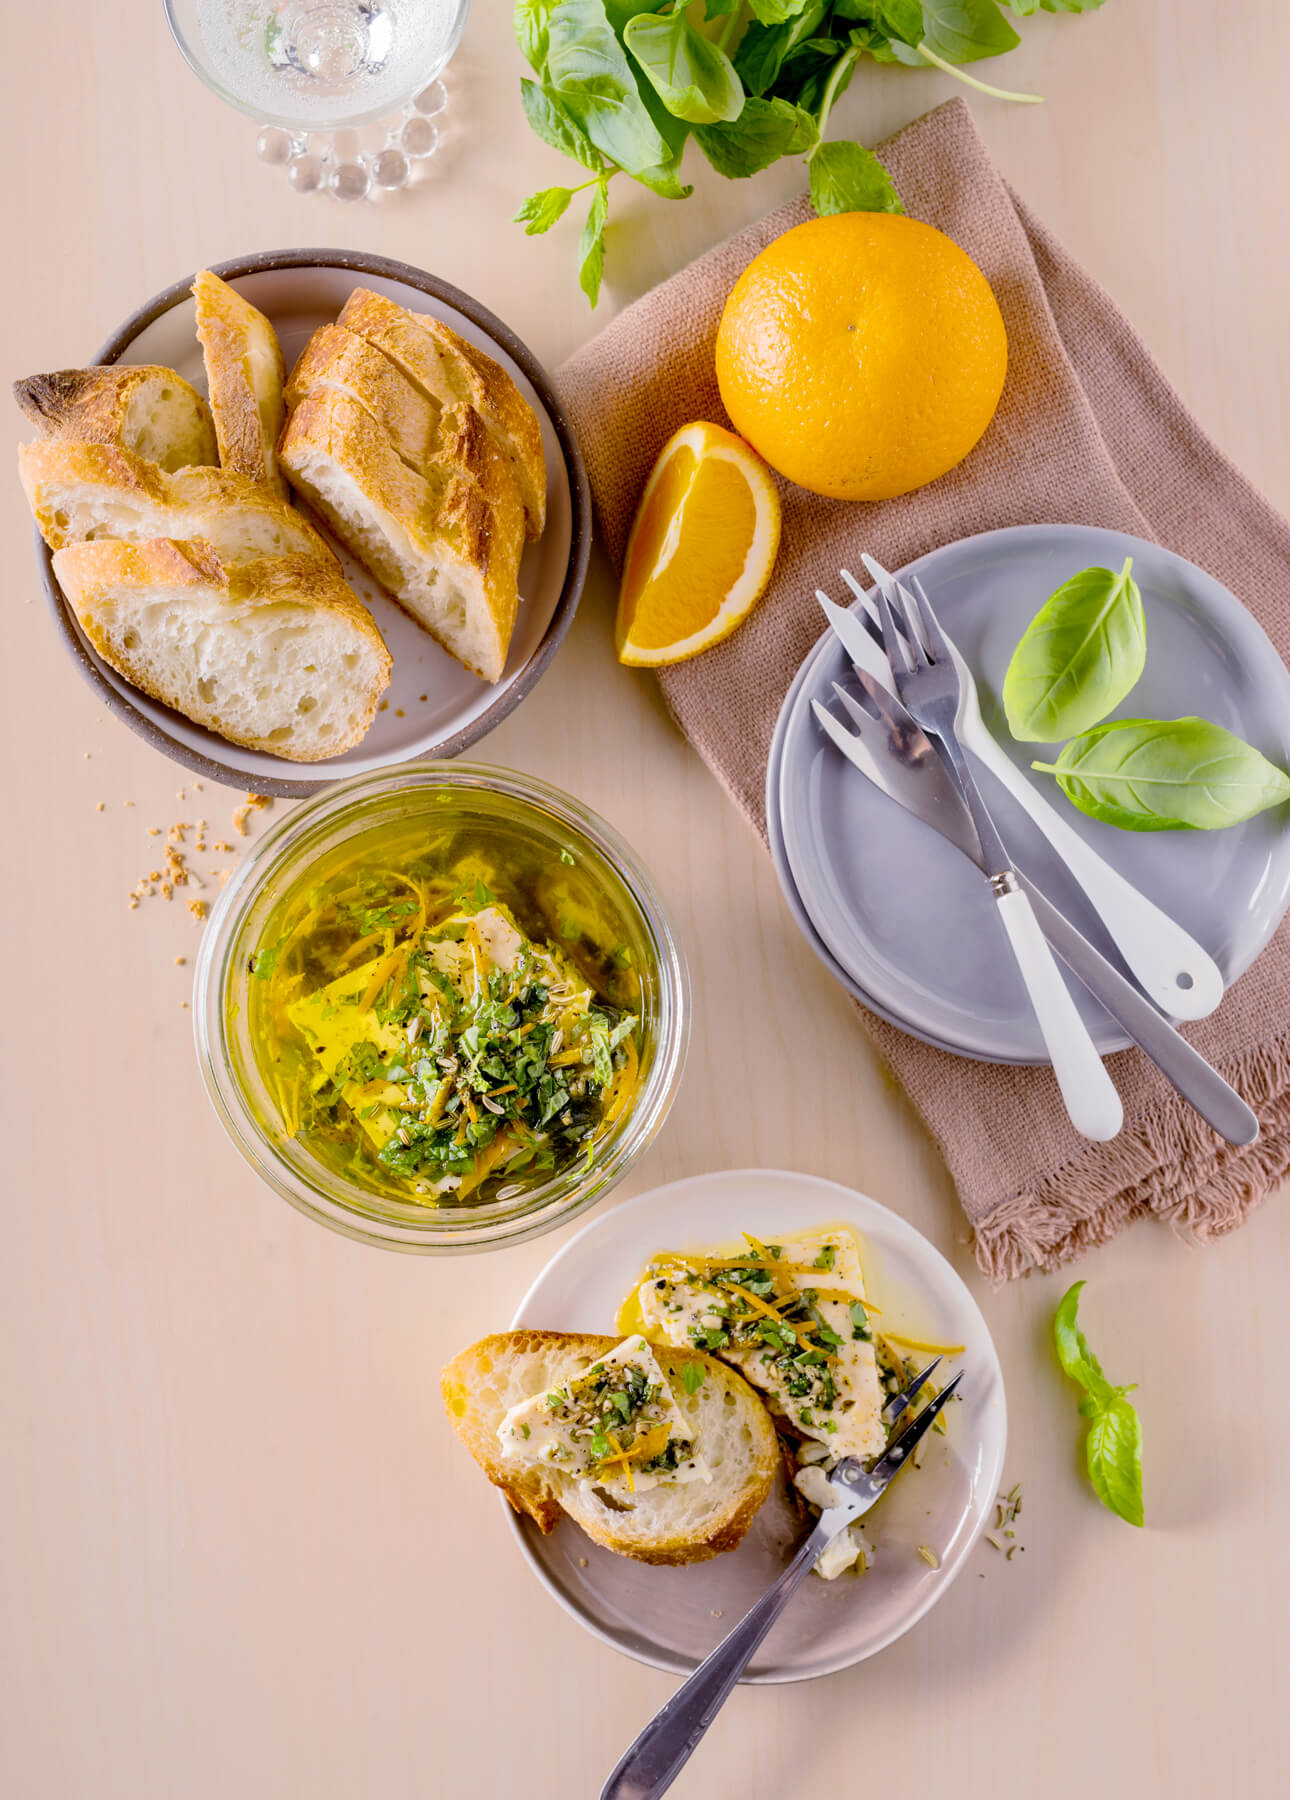
Orange-and-Fresh-Herb Marinated Feta
The post The Creamiest Homemade Hummus appeared first on Food Nouveau.
The Creamiest Homemade Hummus was first posted on November 5, 2019 at 2:02 pm.
©2014 "Food Nouveau". Use of this feed is for personal non-commercial use only. If you are not reading this article in your feed reader, then the site is guilty of copyright infringement. Please contact me at info@foodnouveau.com